Err

www.modernsewingstartshere.com

Slouchy Bag Pattern

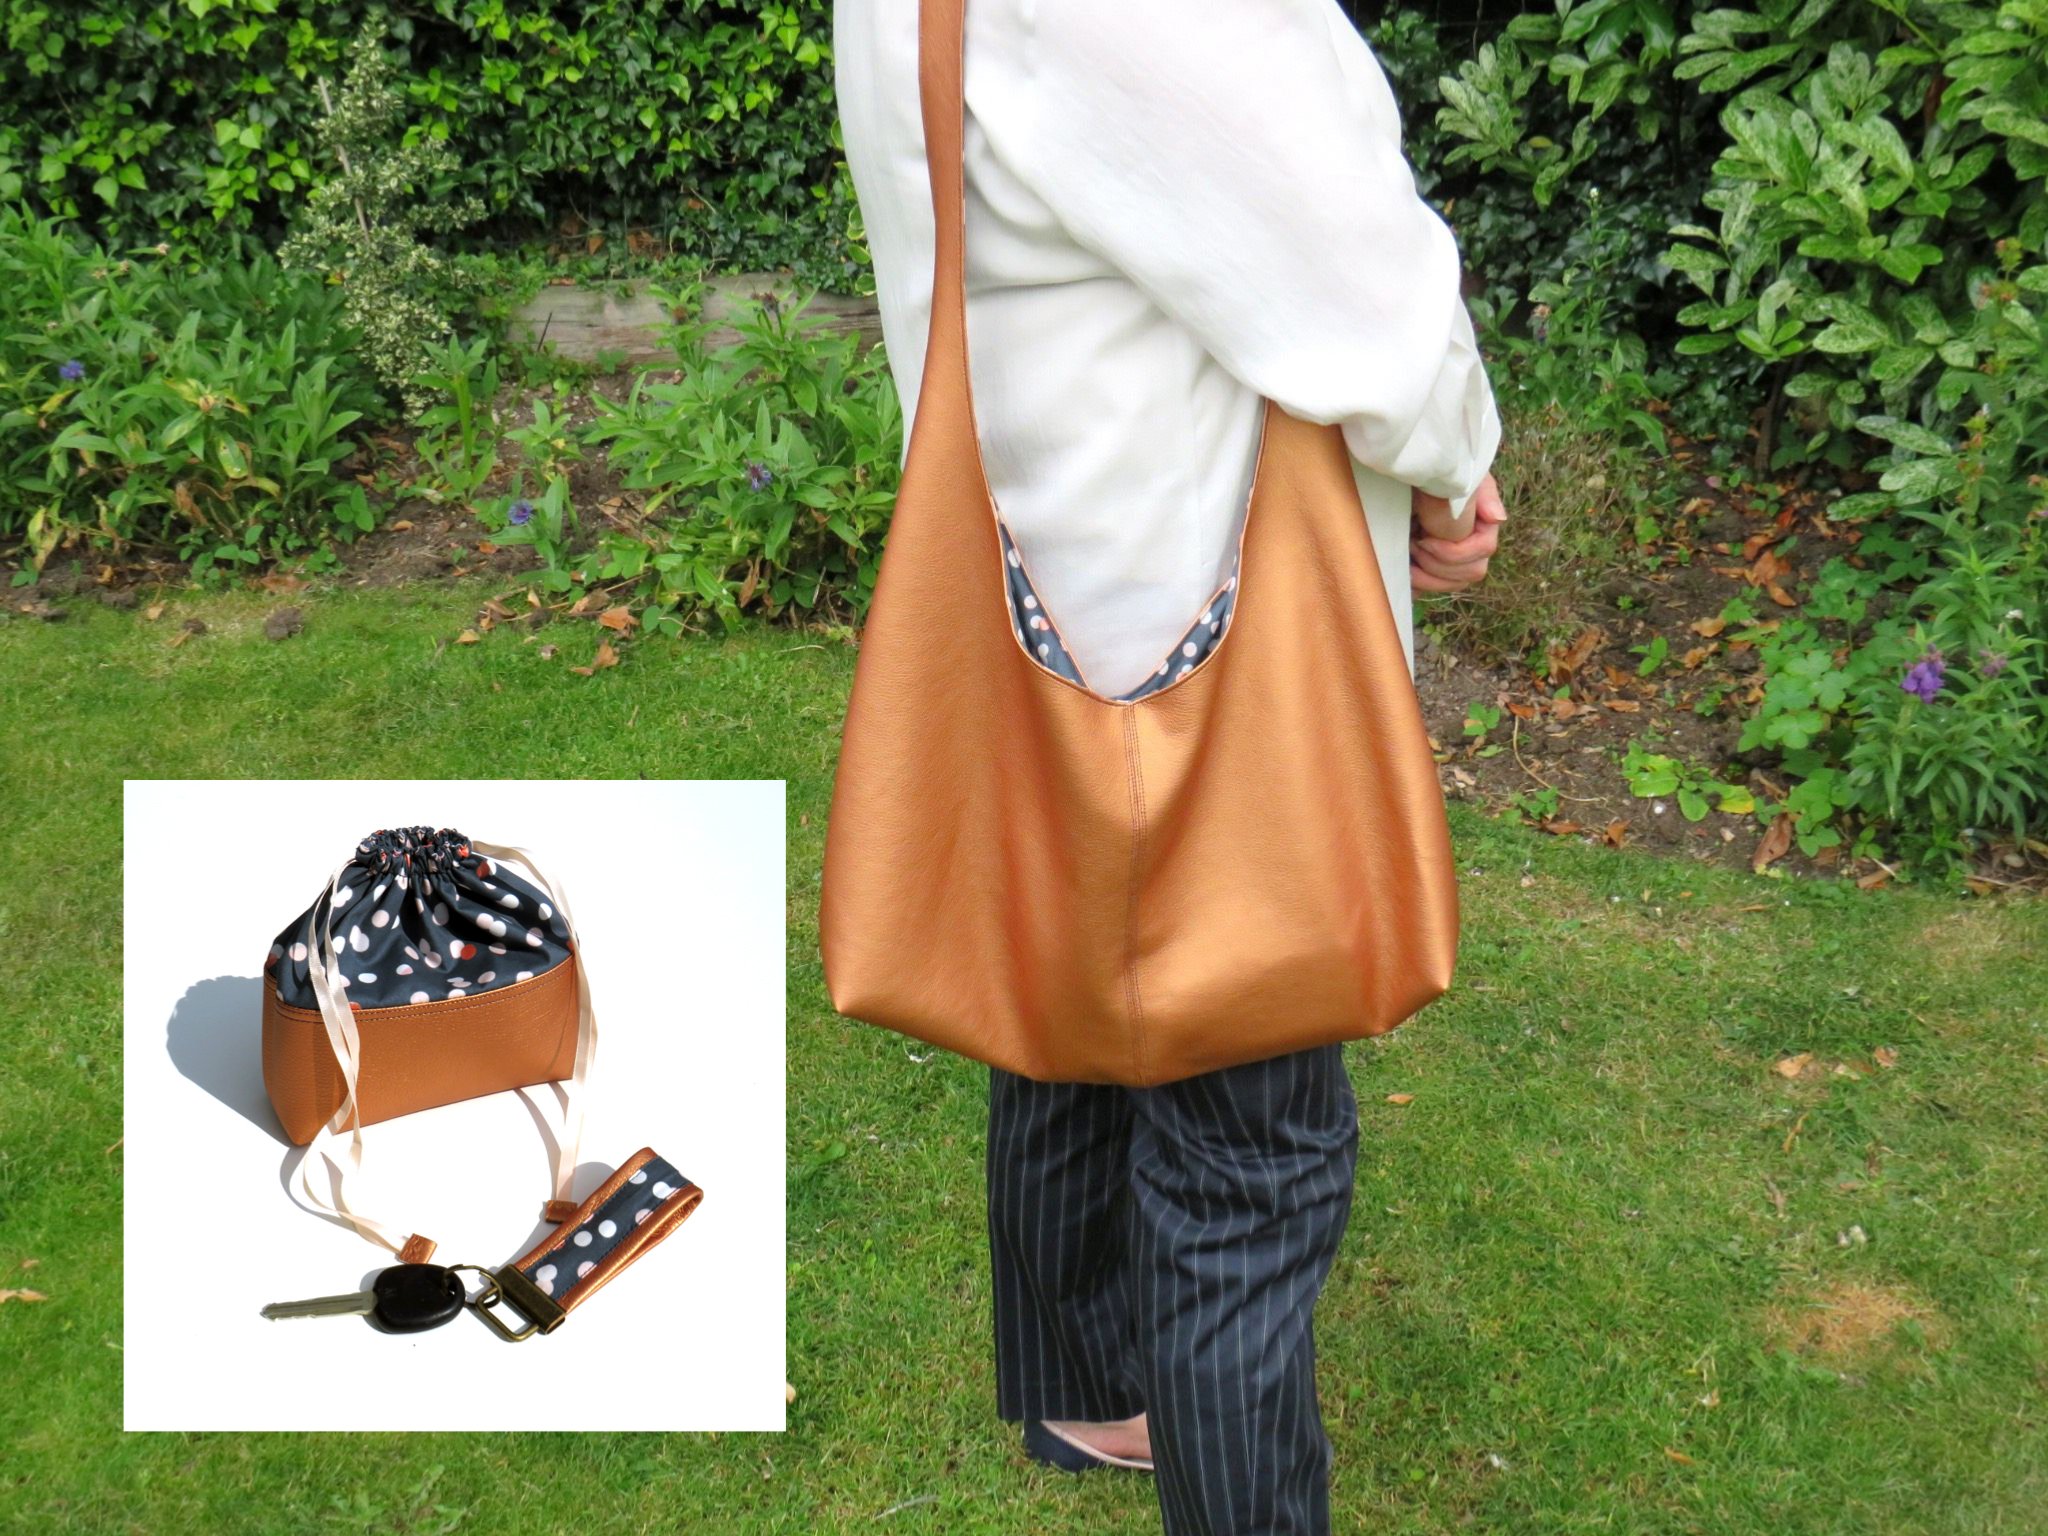
If you read the last issue of MSSH you’ll probably recall the Slouchy bag I made from Modelo Faux Leather which is a really easy to sew fabric that’s available in a variety of rich, zingy colours (see this link).

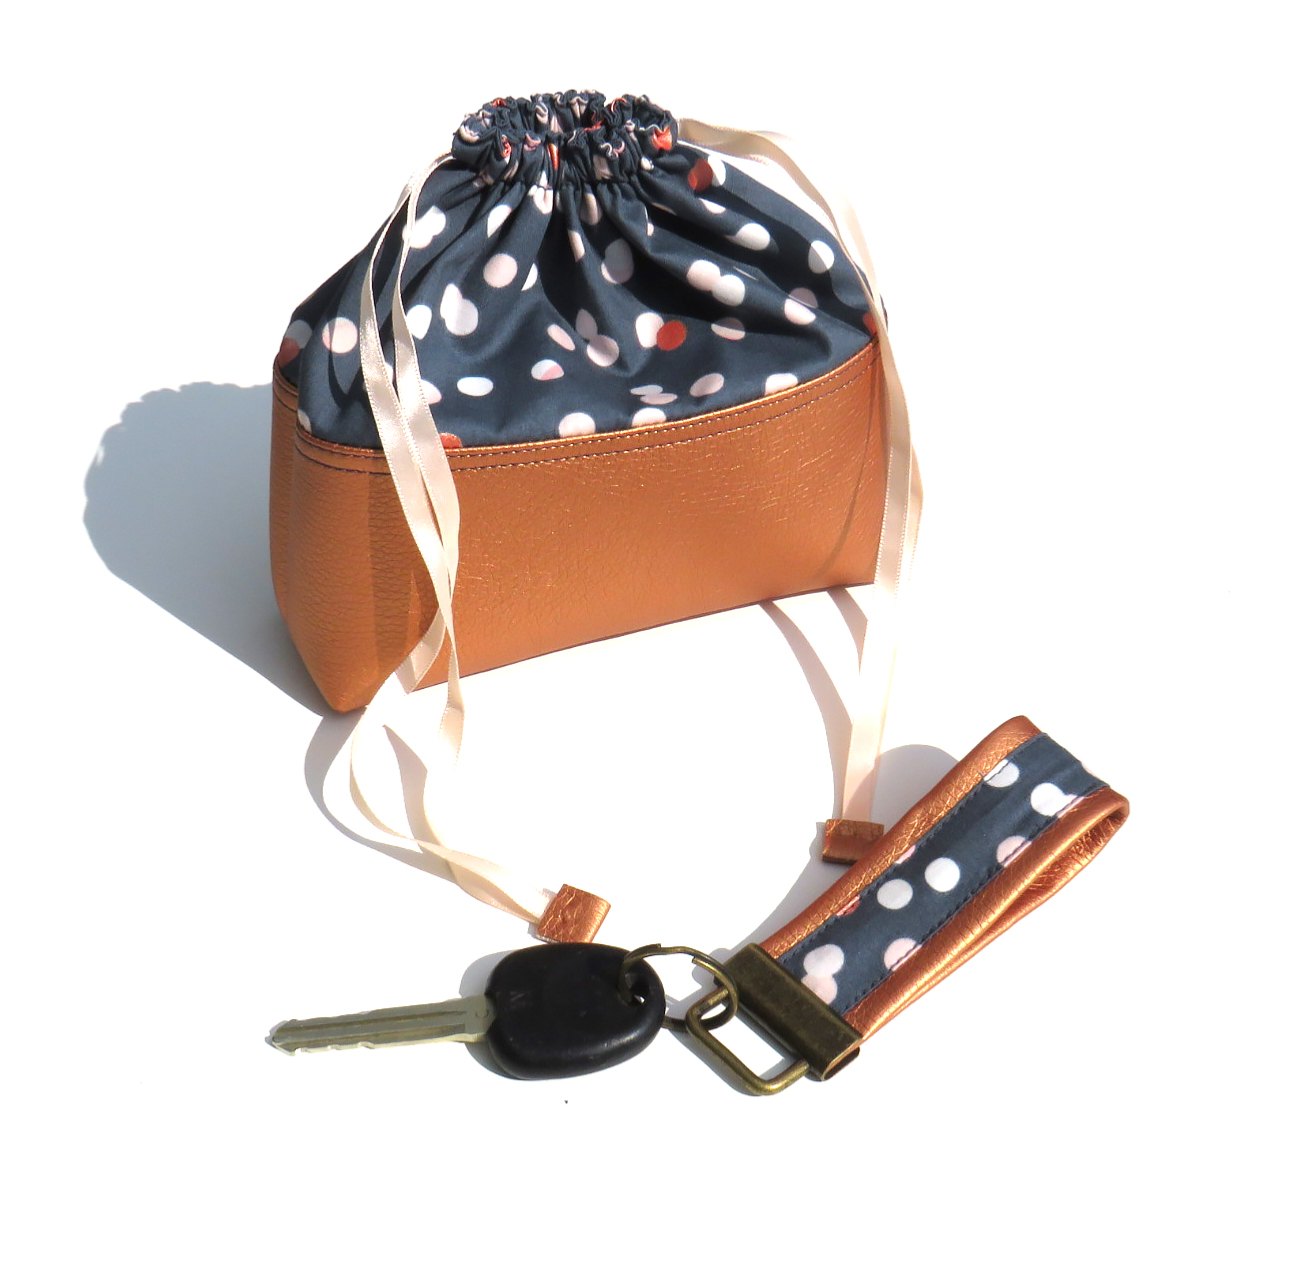
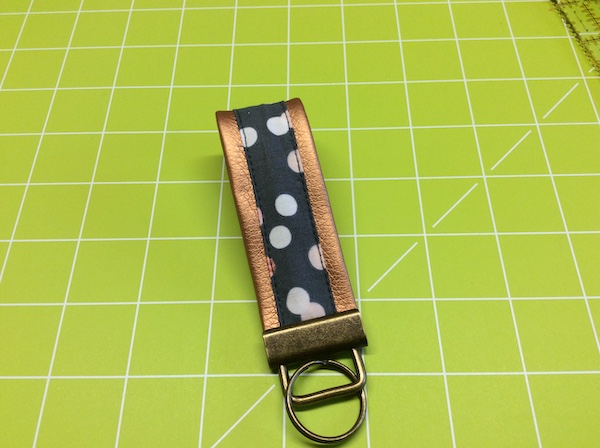
I was amazed at the reaction to the bag and decided to use up my leftover fabric on a matching purse and key ring.

The purse is perfect for make-up and would work well as an evening bag.

Requirements:-

Left over scraps from Slouchy Bag pattern or if using new fabric - 1 fat quarter of cotton fabric

Scraps of faux leather or a piece at least 10in x 12in

1 Prym Key Ring finding

1 metre narrow ribbon or cord to match the printed fabric

Matching thread and contrasting thread for topstitching

Tacky Glue

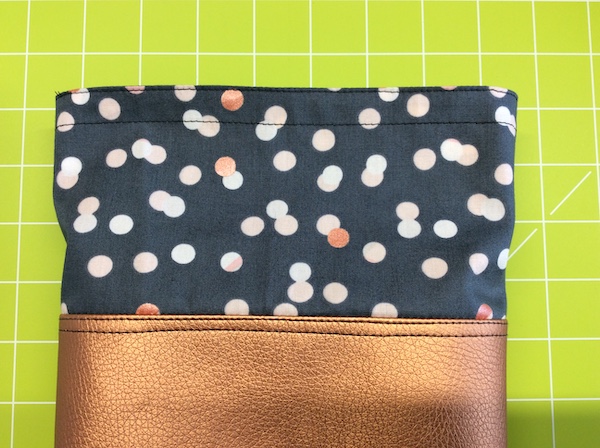
For the Drawstring bag cut:

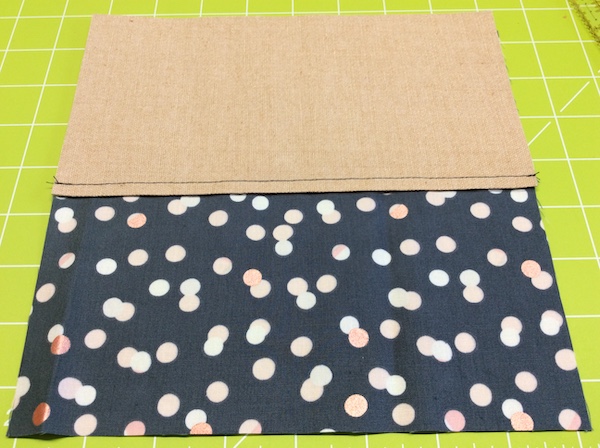
Cut out four pieces from the cotton fabric each 8 1/2in x 8in

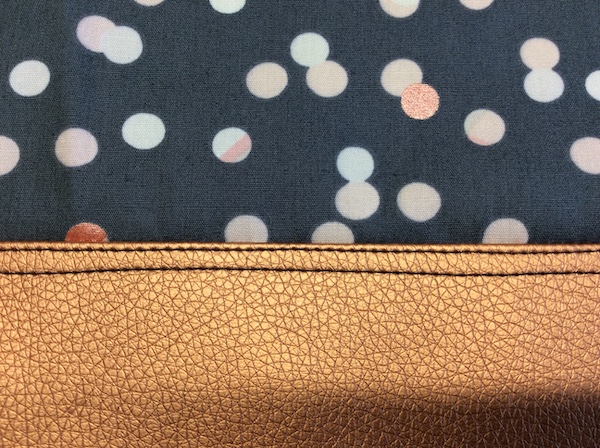
Cut out two pieces from the faux leather both 8.5in x 4 1/2in

Cut out two pieces from the faux leather both 1in x 1/2in

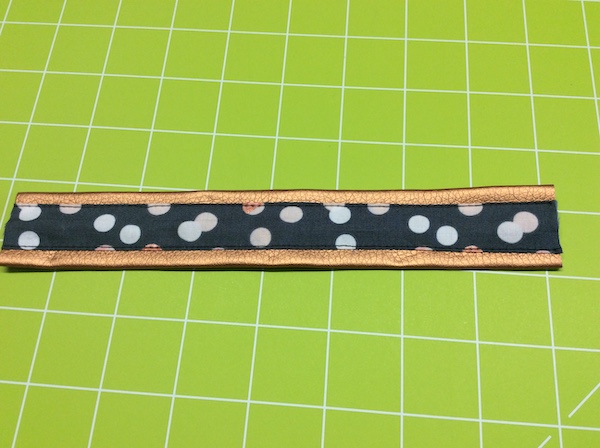
For the Key ring cut:

Cut one strip of printed cotton 2in x 8in

Cut one strip of faux leather 3in x 8in.

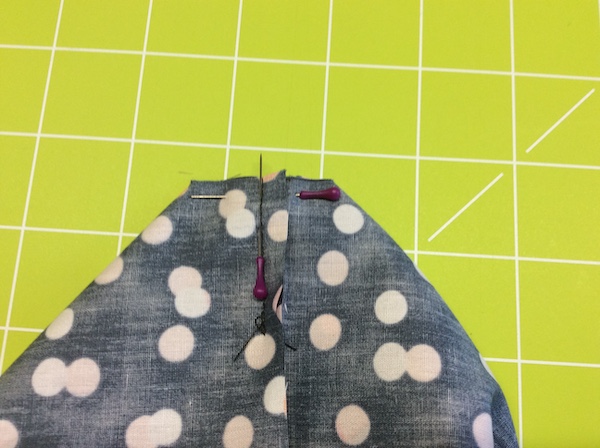
To make up the drawstring pouch use these instructions:

Seam allowance throughout is 1/4in

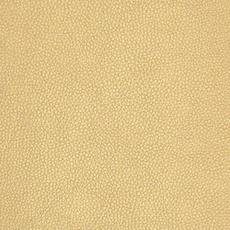
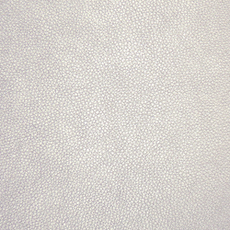
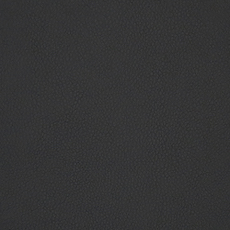
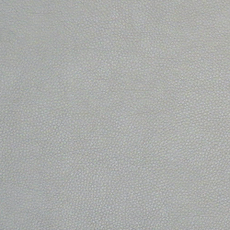
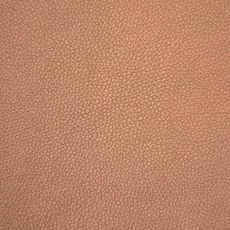
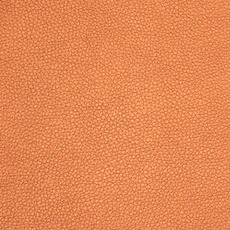
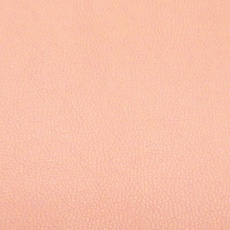
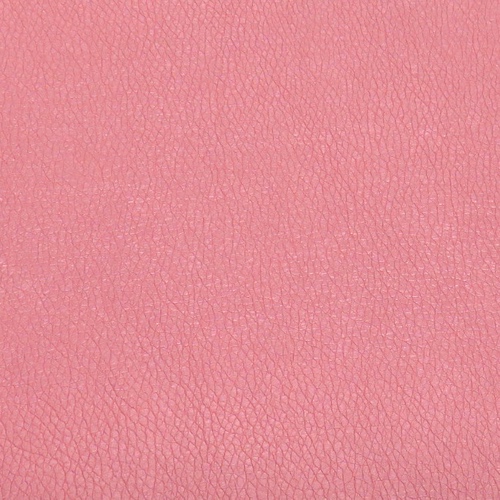
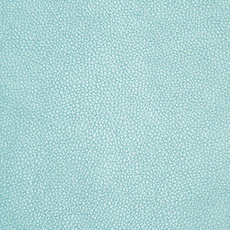
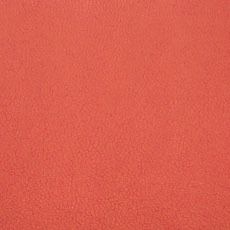
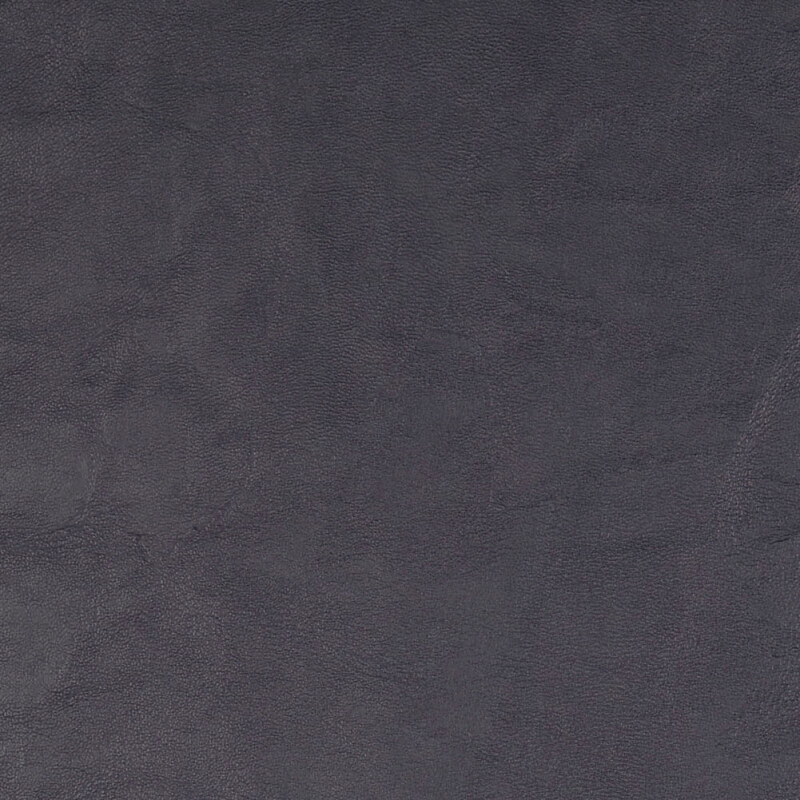
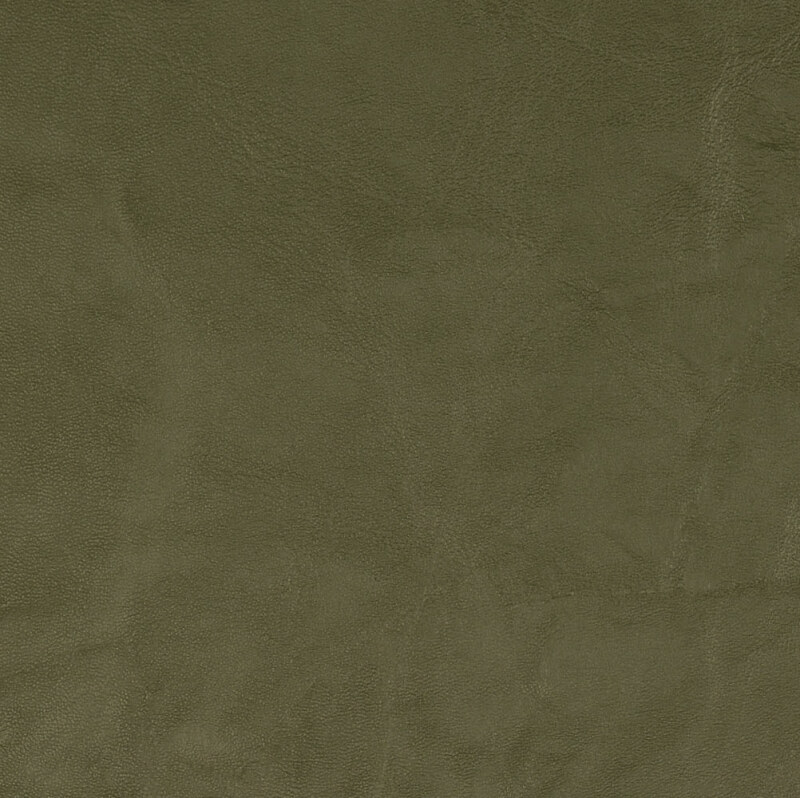
Depending on your faux leather you might find it easier to sew with a teflon foot or walking foot (the Modelo is easy to sew with so I didn't need either), also make sure you increase your stitch length a little to around 2.4 as this avoids stressing the faux leather at the seams. The faux leather used for this is the Modelo one that is available in a great range of colours including metallic and pearl finishes.  It has a woven fabric backing which sews really well with a normal machine foot.

  1. For the bag outer take two pieces of the printed cotton and draw a line across on the right side of each parallel to the 8 1/2in side, 4in up from the bottom or top (ie halfway).  This is the guideline for placing the faux leather. On each piece place the faux leather right sides together with the printed cotton with the edge along the line. Stitch together with a 1/4in seam.  (IMG 1)
  2. Flip the faux leather down so that it is right sides out and the raw seam edges are now hidden.  Topstitch as desired to keep the faux leather flat against the printed cotton bag outer. (IMG 2)
  3. Place both outer pieces right sides together taking care to line up the faux leather at the sides.  Stitch both side seams and bottom seam.
  4. Using a small quilters ruler mark a 1in square in each of the bottom corners.  Cut along both lines to remove the square. (IMG 3)
  5. Fold the corners so that the bottom seam matches the side seam - this should give you a straight cut edge and the bag will take on a triangle shape.  Make sure that the side seam is open before stitching. Stitch across the cut edge from one folded edge to the other. This will make a flat base for the bag.  Repeat on the other side. (IMG 4)
  6. You can now sew the lining pieces together.  Pin the printed lining fabric right sides together and sew the side and bottom seam, leaving a gap in the bottom seam to turn the bag when sewn.
  7. Repeat steps 4 and 5 for the lining to make a flat base.
  8. Turn the lining right sides out and the bag outer inside out.  Put the lining inside the outer matching the top raw edges and side seams, right sides together.  Sew around the top..
  9. Turn the bag right sides out through the hole in the lining bottom seam.  Top stitch the top edge very close to the top edge of the bag. Do a second row of top stitching approx ½ in down, although you can alter this depending on the width of the ribbon or cord you have chosen as this forms the channel.  (IMG 5)
  10. Using an unpicker carefully unpick a few stitches in the side seams between the two rows of topstitching.  Cut the cord or ribbon into two equal lengths. Using a safety pin or other threader pass it through one seam hole to the other side and back around the full top of the bag.  Take the second ribbon or cord and do the same from the other side.
  11. Cut the ribbon or cord to your preferred length and match the ends together.  Using a suitable glue take the small squares of faux leather that you cut at the beginning and put glue on the wrong side of both.  When it is tacky fold the pieces over each end of the cord or ribbons to neaten the ends. You can trim these to the size you prefer.
  12. Finally hand stitch the gap in the bottom lining seam and you are finished.


To make your keyring use these instructions:

  1. Mark a line down the centre of the faux leather 8in piece on the wrong side.  Put small dots of tacky glue along the edges of the faux leather on the wrong side and when takcy fold the edges to the line so that they meet in the middle.  I found it useful to use some quilters clips to hold this while it dried.
  2. Fold the printed cotton strip in half lengthwise wrong sides together and sew a 1/4in seam.  Press with the seam allowance underneath so that it is hidden. No need to turn it as the seam will be hidden when it is attached to the faux leather.
  3. Using the tacky glue and clips stick the fabric strip over the centre of the faux leather strip, hiding both the seam and the join.  Don’t use too much glue for this, just enough to hold everything in place temporarily.
  4. Topstitch along the edges of the printed cotton strip. (IMG 6)
  5. Fold in half with raw edges matching.  Using pliers fold the key ring finding around the end of the strip encasing the raw ends.  Put some wadding or fabric scraps over the finding to ensure that it is not damaged with the pliers.  (IMG 7)
  6. You have now finished your matching accessories.

Image 1

Image 2

Image 3

Image 4

Image 5

Image 6 

Image 7

Sewing with faux leather

The Modelo faux leather used here is available in a great range of colours including metallic and pearl finishes. It has a woven fabric backing, which sews really well with a normal machine foot. Depending on faux leather fabric you choose you might find it easier to sew with a teflon foot or walking foot (the Modelo is easy to sew with so I didn't need either), also make sure you increase your stitch length a little to around as this avoids stressing the faux leather at the seams.

Twitter Facebook

Subscribe to our mailing list & receive a FREE copy of our NEW digital sewing magazine

* indicates required